Ice Maker Repair
Ice or Water Under a Sub-Zero Kick Plate: Finding the Leak
Water or ice under a built-in fridge's kick plate almost always starts at one of four places: the defrost drain, the drain pan, the ice maker's water line, or a door that no longer seals. Dry the floor, note when the wet returns, and look for an ice sheet on the freezer floor.
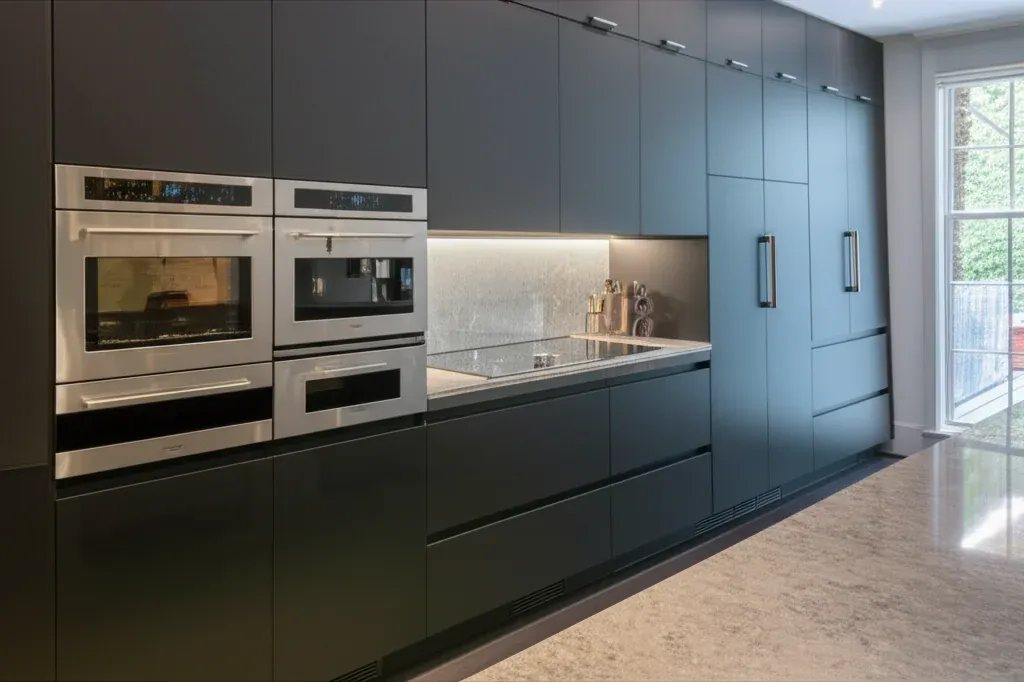
Water or ice under the kick plate of a built-in refrigerator nearly always traces back to one of four sources: a blocked defrost drain, a drain pan that has overflowed or slipped out of place, a weeping water line or valve that feeds the ice maker, or a door that lets humid kitchen air in so the cabinet sweats. You can narrow it down tonight. Wipe the floor completely dry, tuck a folded paper towel along the toe-kick, and look at it again in two or three hours and once more the next morning. A damp towel shortly after the ice maker refills points to the water side. A damp towel after a quiet night, with a sheet of ice on the freezer floor, points to the drain.
On a Sub-Zero, or any other panel-ready column built flush into the cabinetry, the trouble is how little you can see. The floor under the unit is hidden, the sides are boxed in, and a slow drip can soak into a hardwood floor for weeks before it shows at the front. That is why tracing the source matters more than mopping up after it.
Where the water under the kick plate starts
The defrost drain
Several times a day the freezer coil warms briefly to shed its frost. The melt runs down a trough, through a drain tube, and into a pan where warm air from the condenser dries it off. If that tube clogs with debris or freezes solid, the melt has nowhere to go. It backs up, freezes into a sheet across the freezer floor, and sooner or later spills over a lip or finds a seam and drips down behind the grille.
The drain pan
The pan itself is a shallow plastic tray. It can crack, get nudged off its rails when someone cleans behind the grille, or simply fill faster than it can dry after a door has been left ajar and the coil has picked up extra frost. On many built-ins the pan sits low, right behind the toe-kick, which is exactly where an overflow appears.
The water line and valve
Anything with an ice maker or a dispenser has a pressurised water line running to an electric valve, often near the bottom of the unit. A compression nut that has worked loose, a plastic line that has split, or a valve body with a hairline crack leaks only under pressure: sometimes all the time, sometimes only for the few seconds the valve opens to refill the ice tray. A saddle valve clamped onto a house pipe is another common culprit, and it may be down in the basement.
Door sweat
A torn gasket or a door that no longer closes square lets warm, damp air into the cabinet. Moisture beads on the door frame, runs down the face and gathers at the kick. Inside, frost builds faster than it should, and every defrost sends more water down the drain.
Reading the clues before you take anything apart
The timing and the shape of the water tell you more than the size of the puddle does.
- A small, steady patch that returns within an hour of drying usually means a pressurised water fitting.
- Water that turns up mostly overnight, or in occasional bursts, lines up with defrost cycles, so look at the drain and the pan.
- Real ice behind the kick plate means cold air is reaching that area: a freezer drawer that isn’t sealing, or a drain line packed with ice.
- Beads of moisture on the cabinet face or along the gasket point straight at the door.
Look inside as well. Pull the freezer basket or drawer and check the floor of the compartment. A smooth glaze of ice creeping forward from the back wall is the classic sign of a blocked drain. Check the ice bin too: cubes fused into one block, or icicles hanging near the fill area, suggest the ice maker is overfilling or its fill tube has frozen. Our guide to ice maker output dropping covers that fill side in more depth.
What a homeowner can check safely
Most of the useful checks need nothing more than a flashlight, a towel and a few minutes.
- Turn the ice maker off and close the shut-off valve for the refrigerator’s water line. If the floor stays dry for a full day afterwards, you have isolated the leak to the water side.
- Switch the refrigerator off at its breaker or its own power switch before reaching behind the grille. Then remove the kick plate; on most built-ins it is held by two screws or spring clips and comes away without force.
- Shine the light toward the pan. Is it full, tilted, cracked or sitting off its rails? Water on the floor beside a dry pan means the leak is coming from somewhere else.
- Follow the water line as far back as you can see it. Run a dry paper towel around each fitting; a damp mark on the towel finds a slow weep faster than your eyes will.
- Close each door on a strip of paper at several points around the gasket. If the paper slides out with no drag at all, the seal is not doing its job at that spot.
A few things are better left alone. Don’t chip at ice on the freezer floor with a knife or screwdriver, because the liner and the tubing behind it puncture easily, and a pierced coil turns a modest repair into a sealed-system job. And don’t try to slide a built-in column out of its opening: these units are heavy and anchored to the cabinetry, and dragging one out can scar the floor and strain the water line.
If the pan had simply slipped, seating it properly and drying the area may be the whole fix. A one-off ice sheet can be cleared by switching the unit off with the doors open and towels down, but if it rebuilds within a week or two the drain has a fault that thawing will not cure.
When the leak needs a technician
Call for service if the floor gets wet again after you have dried it, reset the pan and checked that the doors close properly. The same goes for a leak you have traced to the valve or to a fitting inside the cabinet, a freezer floor that ices over a second time, or frost building on the freezer’s back wall alongside the water, which can mean the defrost system itself is failing.
A repeat clog nearly always has a reason behind it: a drain heater that no longer warms the tube, a defrost heater or thermostat that has quit so the coil never fully clears, or a drain line routed where it freezes. Each means opening the unit and testing parts with a meter. Our ice maker repair work covers the valve, fill tube and supply side, while defrost and cooling faults fall under refrigerator repair.
What the repair usually costs
Every visit begins with a $95 service call, one flat charge for the trip and a complete diagnosis, and that charge comes off the bill once you approve the work. The firm quote follows the diagnosis. These bands are typical, not promises:
- Ice maker, water valve or supply line: typically $300–$690.
- Defrost heater, thermostat or sensor: typically $280–$660.
- Door gasket or seal replacement: typically $280–$750.
We cover Wayland, Sudbury, Natick and Concord. To book, call (508) 785-6498.
Keeping the floor dry from here on
Once the source is fixed, a little routine keeps it that way. Wipe the gaskets now and then with warm soapy water so they stay supple and seat fully. Don’t stand with a freezer drawer open for ten minutes while you unpack groceries on a muggy August afternoon, because every extra minute adds frost the next defrost has to carry away. Clean the condenser on the schedule in your owner’s guide so the pan keeps drying as it should. And if your supply line is thin plastic or runs off a saddle valve, consider having a plumber fit a braided line and a proper shut-off.
Still asked on the phone
Is water under the kick plate of my refrigerator dangerous?
It is rarely a shock hazard on its own, but it should never be left to sit. Switch the unit off at its breaker before reaching behind the grille, dry the area, and trace the source quickly, because a slow drip under a built-in can soften hardwood and subfloor long before anything shows at the front.
Why is there ice, not just water, behind the kick plate?
Ice in that spot means cold air is reaching the base or a drain line is freezing solid. A freezer drawer that has stopped sealing, a gasket torn at a bottom corner, or a drain tube that ices over during each defrost are the usual reasons, and none of them tends to clear up without help.
Can I keep using the refrigerator while it leaks?
Usually yes, as long as you switch the ice maker off and close the water supply while you wait for service. That halts any leak on the water side, and both compartments keep cooling. If the floor still gets wet with the water closed, keep towels down and watch the freezer's back wall for new frost.
How can I tell if the defrost drain is clogged?
A glaze of ice on the freezer floor, spreading forward from the back wall, is the plainest sign. You may also find water pooling in the bottom of the freezer shortly after the coil defrosts, or a drip under the kick plate that appears only at certain times of day rather than all the time.
What does fixing a leak on a built-in refrigerator cost?
It depends on the cause, so the diagnosis comes before any figure. The $95 service call pays for the visit and a full diagnosis and is credited to the repair if you go ahead. Typical bands are $300–$690 for an ice maker, water valve or supply line, and $280–$660 for a defrost heater, thermostat or sensor, with a firm quote once the fault is found.